1. Create your venue
- Sign up with email, Google or Apple.
- Enter your venue name, type, currency and service hours.
- Pick your brand colour — menus, QR cards and receipts inherit it.
2. Build the menu
- Create categories in the order you want guests to see them.
- Add dishes with a photo, price, veg/non-veg marker and description.
- Add option groups such as size, spice level or add-ons.
- Toggle any dish out of stock instantly when the kitchen runs out.
3. Add tables & print cards
- Add each table with the label your team already uses.
- Every table gets its own permanent link and code.
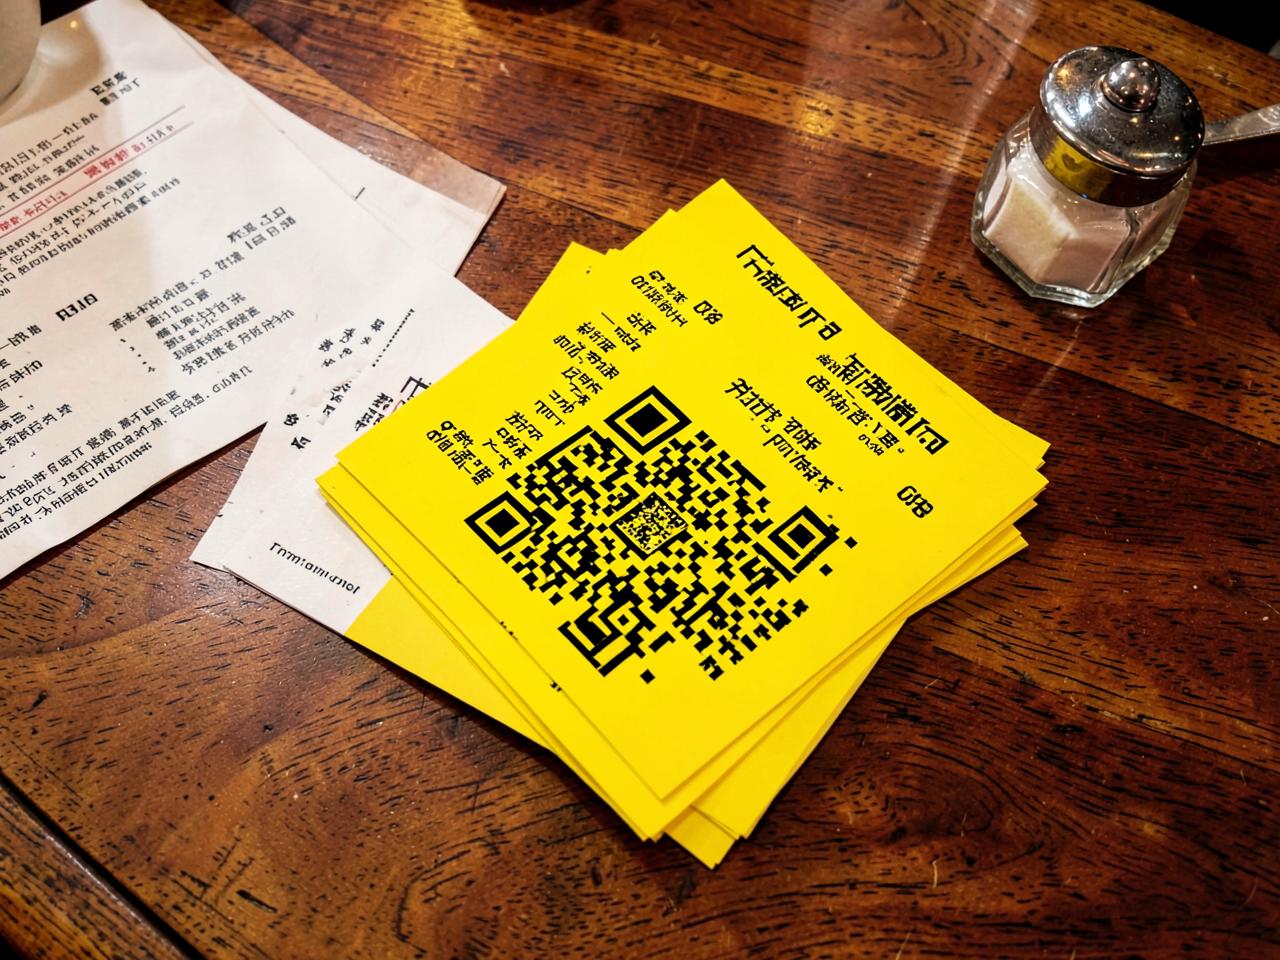
- Download the A4 PDF (six cards per sheet) or a single card image.
- Laminate or stand them — the code never changes.
4. Run live service
- Keep Live orders open at the counter and Kitchen view at the pass.
- New orders arrive instantly with the table label attached.
- Advance tickets with one tap: Accept → Start cooking → Mark ready → Served.
- Guests watch the same steps on their own phone.
5. Read your numbers
- Revenue, order count and average order value by day.
- Busiest hours, so you roster to demand.
- Best and worst sellers, so the menu keeps earning.
6. Add your team
- Invite managers, servers and kitchen staff with the right role.
- Kitchen roles see tickets only — not billing or settings.
- Deactivate anyone the moment they leave.
Printing tip
Print at 100% scale on 250–300 gsm card. Laminate if the table gets wet — a scratched code is the only thing that slows a scan down.
Open help & support